Fell & Sell Dungeon Guide: Descend or Extract?
Plan safer Fell & Sell dungeon runs with a repeatable route, loadout checks, extraction decisions, and boss-floor preparation.
Direct answer
Go deeper only while your healing, defense, stamina, carry space, and return route still leave room for a mistake. Extract once the unbanked haul is worth more than the next floor's upside.
Quick answer
- Track the way back at every junction.
- Keep healing, defense, and free carry space in reserve.
- Recheck the whole loadout before a zone boss.
- Bank the haul when one failure would erase too much progress.
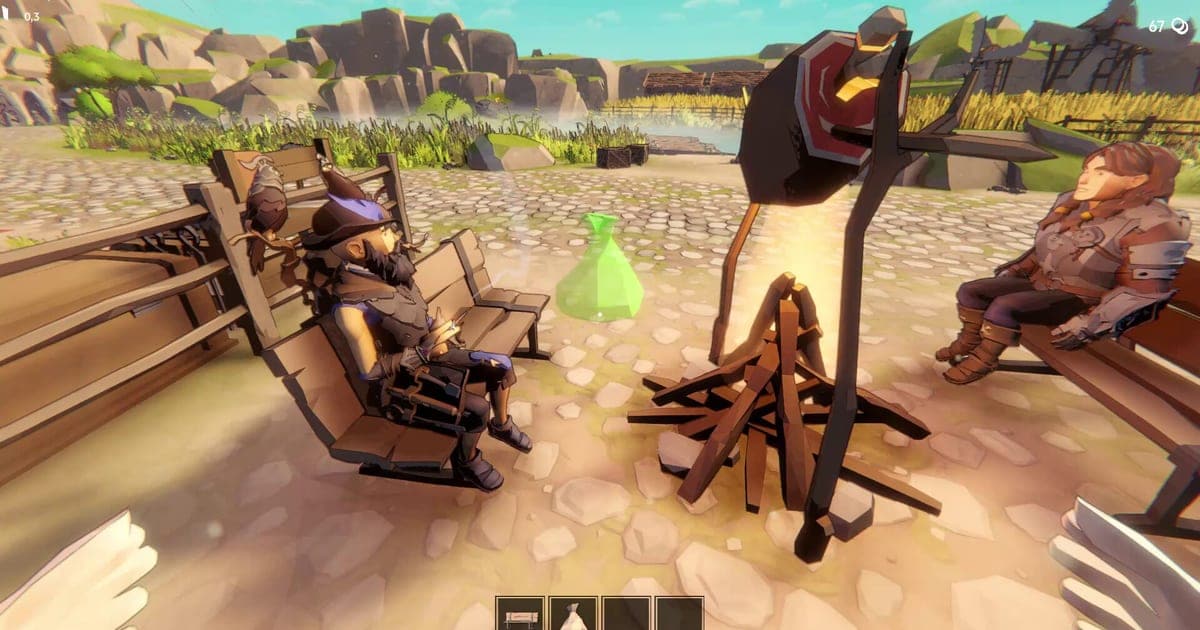
Fell & Sell Dungeon Run at a Glance
Treat every dungeon floor as a balance sheet written in health, weight, and exit distance. Deeper floors can improve the loot you find, yet death takes the entire unbanked haul. The best run is the one that returns value to the shop, even when that means leaving before the most exciting room.
| Check | Continue when | Extract when |
|---|---|---|
| Route | You can name the landmark or portal that leads back | You have lost the return direction at multiple junctions |
| Survival | Healing, shields, stamina, and a defensive option still leave recovery room | One trap or hard fight could consume the remaining margin |
| Carry load | There is meaningful space for the next floor's loot | Weight is already limiting the value of another floor |
| Equipment | Losing the equipped kit would still leave a workable replacement at home | The current kit and haul are too costly to expose together |
| Boss boundary | The loadout can support a failed attempt | Reaching the next biome would require risking an already valuable haul |
Prepare a Loadout You Can Afford to Risk
Bring healing and a defensive option that you can actually use, then leave replacement gear at home. Free carry space is part of the loadout because a run with no room for worthwhile loot has already lost much of its reason to continue. Stamina, shields, healing, traps, and inventory weight all affect whether the next floor remains sensible.
For an early progression framework, start with the Fell & Sell beginner path. When the limiting factor is replacement equipment, use the crafting progression plan before exposing another valuable kit.
Before entering, answer four questions:
- Do I have healing left for more than the first mistake?
- Do I have a workable defensive option?
- Is enough inventory space open for the haul I want?
- Would a death leave usable backup gear at home?
If any answer is no, shorten the run before it begins. A smaller target produces a cleaner extraction decision than hoping the next floor repairs a weak setup.
Run Each Floor as a Return Route
Players report that the dungeon offers no minimap. Plan around what you can observe: recognizable rooms, portals, and the direction taken at each junction. Route memory matters most before danger or a full inventory makes careful navigation harder.
- Enter with healing, defense, spare capacity, and replacement gear protected at home.
- Choose a visible room feature as the first return landmark.
- At each junction, identify which direction leads back before exploring the next branch.
- Use a portal or unmistakable room as a progress check instead of relying on vague memory.
- After valuable pickups, recheck health, healing, stamina, shields, and inventory weight.
- At the floor transition, make a fresh descend-or-extract decision.
Success has an observable state. You know where the return route begins, you can identify the last reliable landmark, and your current supplies still support the chosen objective. If one of those checks fails, recover that state before moving deeper.
Decide Whether to Descend or Extract
Another floor is worthwhile when the possible loot improvement exceeds the risk now attached to the run. That risk includes current health, remaining healing, inventory weight, the equipped kit, and every unbanked item already carried. There is no universal floor number that replaces this check.
| Current state | Better choice | Reason |
|---|---|---|
| Clear return route, usable healing, manageable weight | Consider descending | The run still has recovery margin and room for better loot |
| Strong haul, limited healing, rising equipment exposure | Extract | A single failure can erase more value than another floor is likely to justify |
| Route uncertain, even with healthy supplies | Stabilize or extract | Supplies do not solve an unknown return path |
| Boss ahead with a thin defensive margin | Extract and prepare | The checkpoint raises the cost of carrying a weak setup forward |
A deeper dungeon run with real extraction pressure
Watch how carry load, supplies, equipment risk, and better deep-floor loot compete during one extended run.
Once the haul is safe, the next task is converting it well. The shop pricing strategy handles that separate decision without turning a dungeon run into a pricing detour.
Treat the Boss Floor as a Checkpoint
A boss waits at the end of each dungeon zone before the next biome. That boundary changes the question from “Can I clear another room?” to “Can this loadout absorb a failed boss attempt?” Check healing, defense, stamina, weight, and the value already at risk as one combined decision.
Proceed when the kit still has recovery room and losing the carried haul would remain an acceptable cost. Extract when depleted healing or an expensive loadout makes failure too damaging. Banking loot and returning prepared preserves progress toward the next biome.
The progress check is simple: you should be able to state what will protect the next attempt and what remains at home if it fails. If the answer depends on finding help after entering the boss floor, preparation is incomplete.
Recover When a Run Starts Going Wrong
| Symptom | Expected state | Smallest useful next check |
|---|---|---|
| The return direction is unclear | You can name the last landmark or portal on the route back | Stop exploring and retrace to the last recognizable room before choosing another branch |
| Healing or shields are nearly spent | The loadout retains room to recover from one more mistake | End the push and compare the secured haul with the cost of another fight |
| Inventory weight is consuming the run's margin | There is enough capacity for the target loot | Stop collecting low-priority finds and choose extraction before adding another floor |
| The equipped kit feels too costly to lose | A failed run still leaves a workable replacement | Extract, protect the current haul, and prepare backup gear for the next attempt |
| A boss boundary arrives with weak supplies | The loadout can support a failed attempt | Leave first, rebuild the healing and defensive margin, then return |
Changing one condition at a time makes the diagnosis useful. Recover the route, supplies, carry margin, or replacement plan first. A blind restart adds another risk without identifying which state failed.
What This Strategy Can and Cannot Promise
The reward structure and death penalty are firm: deeper floors can hold better loot, and death removes unbanked items. Zone bosses also gate progress into the next biome. Those facts make the extraction decision unavoidable.
The no-minimap point comes from current player reporting, so treat it as a practical navigation warning. Gameplay observations confirm that stamina, shields, healing, traps, and weight matter, though they do not establish one perfect numeric threshold for every build. Use the visible state of the current run and choose a risk limit you can repeat.
Frequently Asked Questions
Was this helpful?
Continue reading
These related Fell & Sell pages answer the next questions around this topic.